
How to screenshot a video on iPhone (the usual way)
- Play the video in Photos and pause at the moment you want.
- Tap the screen until the controls disappear.
- Press the side button and volume up together (or the Home button and side button on older iPhones).
- Tap the thumbnail, crop out any black bars and tap Done.
It works — but you'll notice three problems.
Why video screenshots lose quality
- Screen resolution, not video resolution. A landscape 4K video (3840 × 2160) shown on a portrait iPhone screen occupies only a thin band. After cropping, your photo can be well under a third of the width the video really has.
- Hard to hit the exact frame. Pausing by tap is imprecise, so the blink or the blur you wanted to avoid is often the frame you get.
- Extra compression and clutter. Controls, captions or the progress bar can sneak in, and cropping adds another save.
The fix is not a better screenshot. It's not taking a screenshot at all.
No-screenshot method 1: iOS 27 Photos
Open the video in Photos, pause on the moment, tap the ••• button and choose Save Video Frame as Photo. The frame is saved at the video's resolution as HEIF or JPG. It saves one frame per tap and files the photo under the video's original date.
No-screenshot method 2: a frame grabber (any iOS, many frames)
On iOS 26 or earlier, or when you want several frames, PNG, or a ZIP or PDF of stills, a frame grabber reads the images straight out of the video file and lets you export them in one go.
How to save a video frame on iPhone without a screenshot
-
Open the video in the app
In Photos, open the clip, tap Share and choose the app — or open Video To Photo – Grab Frame and pick the video.

-
Stop on the exact frame
Drag slowly along the filmstrip until the large preview shows the moment you want. No pausing race against playback.

-
Tap Grab This Frame
The frame is saved to the tray. Grab a couple of neighbours too and compare them in the preview.

-
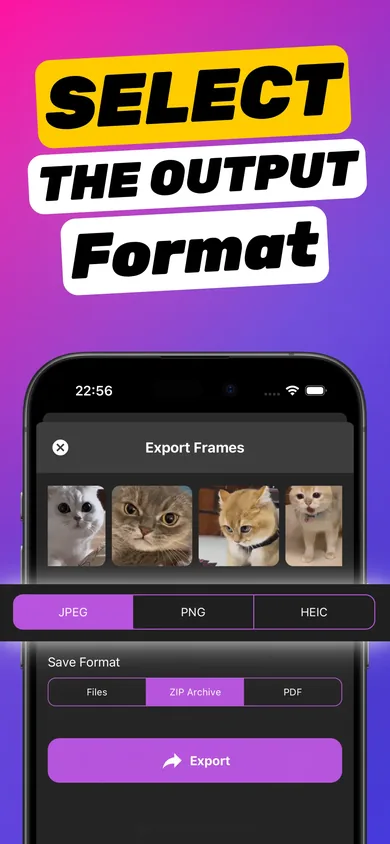
Export as PNG or HEIC
PNG is lossless and HEIC keeps high quality in small files. Save to Photos or Files and you're done.
Try it on your own video — it takes about a minute.

Screenshot vs extracted frame
| Screenshot | Extracted frame | |
|---|---|---|
| Resolution | Limited to your screen | The video's own resolution |
| Exact moment | Hit or miss | Scrub to the frame |
| Controls / bars | Often visible, needs cropping | Never |
| Many frames | One screenshot at a time | Batch export, ZIP or PDF |
| Format | PNG screenshot | JPG, PNG or HEIC |
Getting the sharpest result
An extracted frame can only be as sharp as the video. Moments with less movement, good light and higher resolution recordings give the best stills. Our guide on getting a clear picture from a video covers settings to use before you record.
If you just need some image to text a friend, a screenshot is fine. For anything you'll print, post or keep, extract the frame.
Frequently asked questions
Why is my screenshot of a video blurry?
A screenshot captures your display, so the video is scaled down to the part of the screen it occupies. Pausing also often lands on a frame with motion blur. Extracting the frame from the file avoids both problems.
Can I save a video frame without a screenshot on iPhone?
Yes. On iOS 27 and later, use Save Video Frame as Photo in the Photos ••• menu. On any iOS version, Video To Photo – Grab Frame extracts frames straight from the video file, with no player controls or bars.
Which format keeps the most quality?
PNG is lossless, so it keeps every pixel of the frame. HEIC keeps very high quality in smaller files. JPG is smallest and best for quick sharing.