
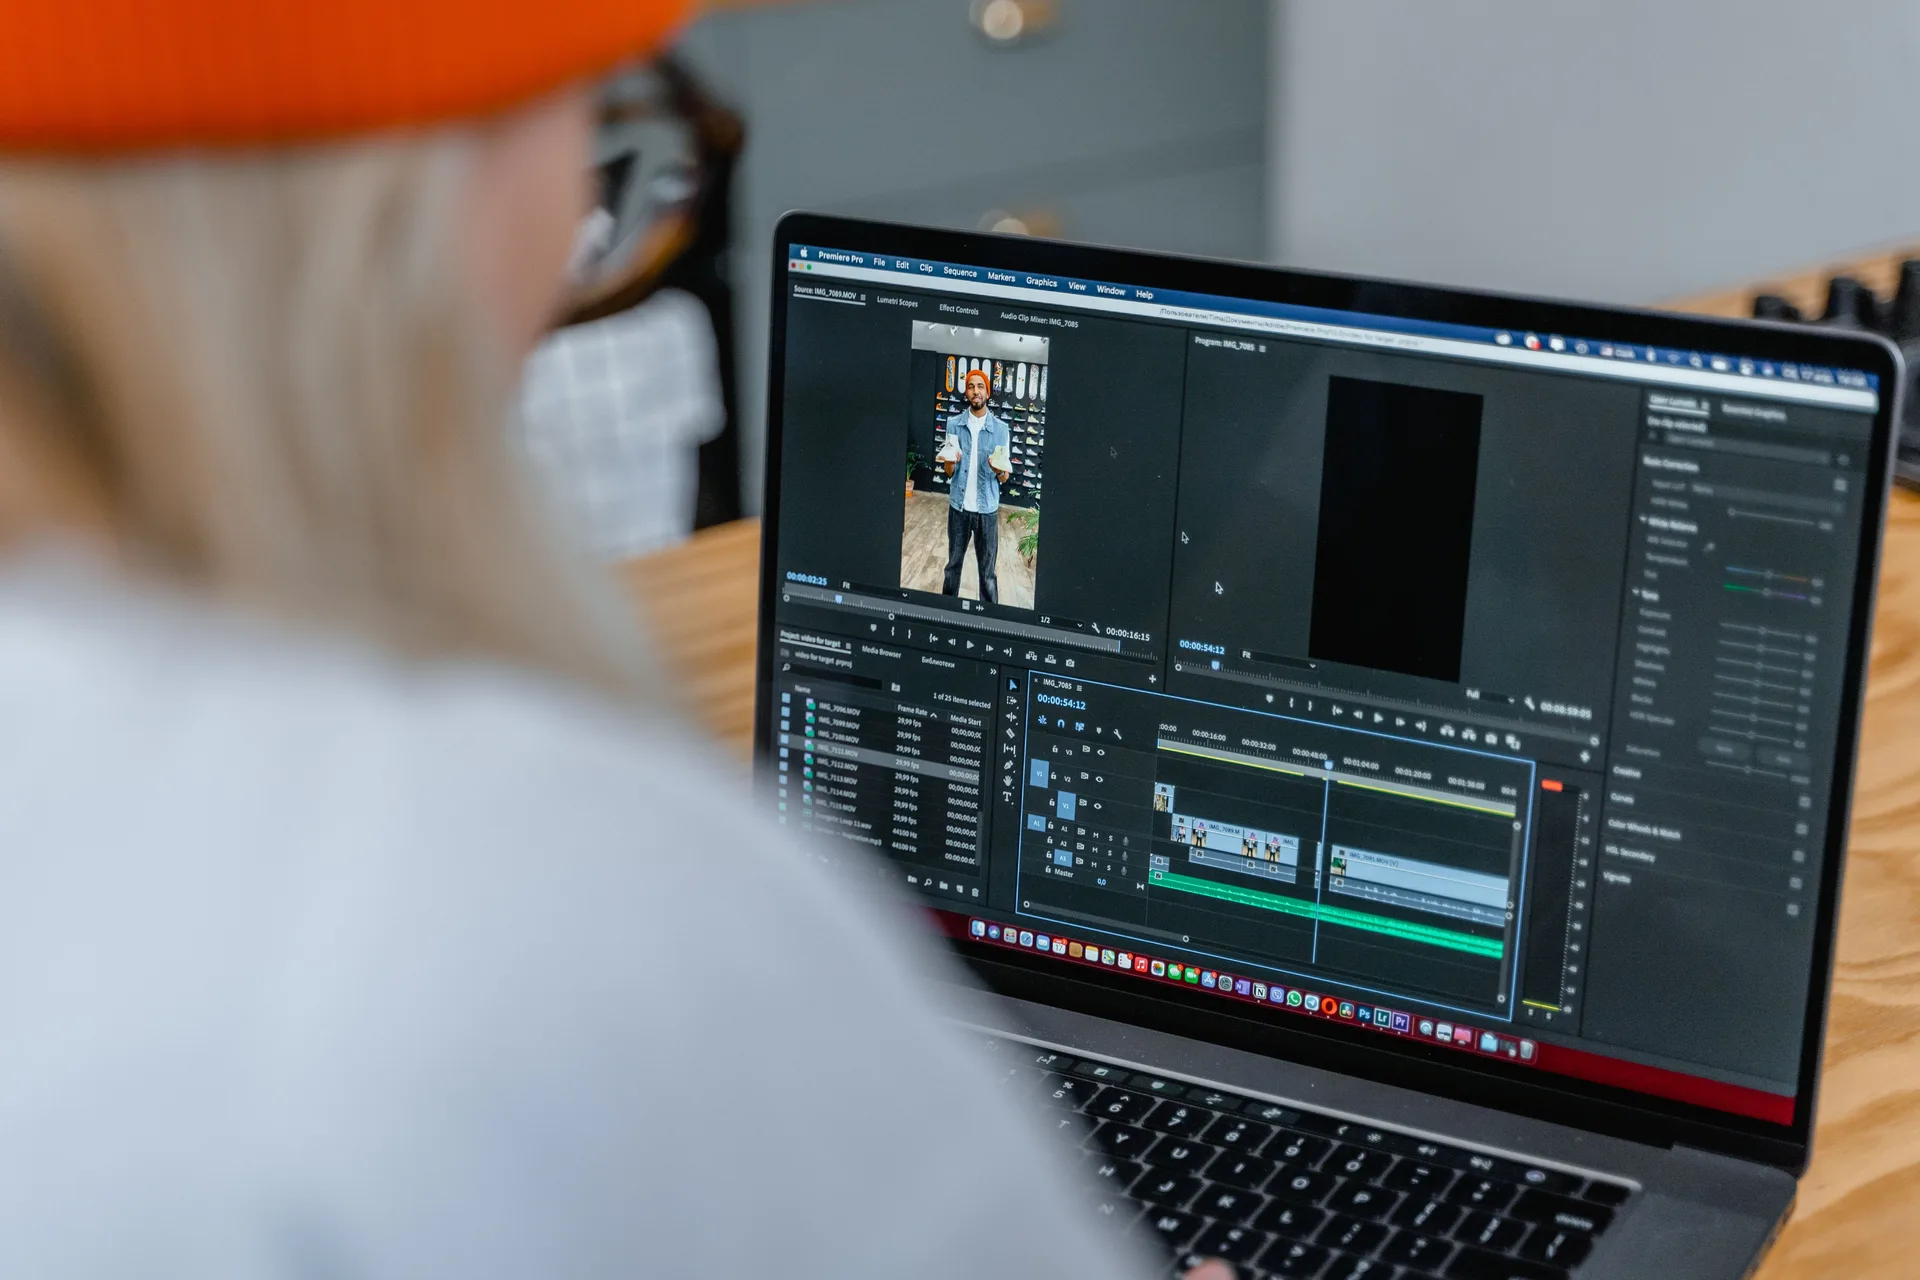
A thumbnail is the still that sells your video—on YouTube, in a TikTok draft, on a blog embed, or in a course module. Auto-generated frames often catch mid-blink expressions or blurry motion. The fix is simple: create a thumbnail from video by exporting the exact frame you want, then add text or graphics if needed.
On iPhone you can do this without a desktop editor. Here is a practical workflow from frame selection to platform-ready image.
Why not use auto-generated thumbnails?
Platforms like YouTube pick random frames from your upload. Results are unpredictable—a ceiling shot, a half-closed eye, a transition blur. Creators who care about click-through rates choose thumbnails manually. That starts with extracting a high-quality still from the source video.
Step 1: Pick the right moment
Good thumbnail frames usually share traits:
- Clear subject — Face or product visible, not obscured by motion blur.
- Readable at small size — Simple composition; busy backgrounds fail on mobile feeds.
- Emotion or intrigue — Expression, contrast, or a visual question that invites a click.
- Stable frame — Pause on a sharp frame, not mid-gesture.
Open the video on iPhone, scrub frame-by-frame, and note the timestamp. Dedicated frame apps make this faster than pausing in Photos and screenshotting.
Step 2: Export at full resolution
Extract the frame at the video's native dimensions—not a screenshot. Export as JPG for most platforms or PNG if you will add text layers in another app. HEIC works for archive; convert to JPG before uploading to some services.
Step 3: Match platform dimensions
Common thumbnail aspect ratios:
- YouTube — 16:9 (1280×720 minimum; 1920×1080 recommended).
- TikTok / Reels cover — Often 9:16 or cropped square depending on placement.
- Instagram feed — 1:1, 4:5, or 16:9 depending on post type.
- Blog / email — Flexible; 16:9 or 3:2 usually works.
If your source video is vertical, crop or compose in a design app after export. Starting from a sharp full-resolution frame gives you more room to crop than a low-res screenshot.
Step 4: Add text and branding (optional)
Many creators export the base frame, then open Canva, Pixelmator, or Over to add titles, arrows, or brand colors. PNG export from the frame step preserves quality before you add layers.
iPhone workflow summary
- Share video from Photos to a frame-extraction app.
- Scrub to the best moment; export as JPG or PNG.
- Crop to platform aspect ratio in Photos or a design app.
- Add text/overlays if needed.
- Upload as custom thumbnail on your platform.
Tips for better thumbnails
- Export multiple candidates — Batch a few frames and A/B test which performs.
- Brighten slightly — Small screens favor contrast; a subtle brightness bump helps.
- Keep faces large — Thumbnails are tiny; faces should dominate the frame.
- Avoid small text in the source frame — Add readable text in a design step instead.
- Check at phone size — Zoom out to thumbnail scale before finalizing.
Common mistakes
- Screenshotting the player — soft image, possible UI in frame.
- Using a motion-blurred frame — looks fine in preview, fails as a still.
- Wrong aspect ratio — important subject cropped awkwardly on upload.
- Over-compressing — multiple JPG saves degrade quality; export once at high quality.
Key takeaways
- Custom thumbnails beat auto-picked frames for control and click appeal.
- Extract the still at full resolution from video, then crop and design.
- Match aspect ratio to your platform before upload.
- Batch export several frame options to compare quickly.
Creating thumbnails from video on iPhone is a two-step habit: find the right frame, export it cleanly. Once that is fast, you spend your creative energy on composition and text—not on fighting blurry screenshots.